One colour map, four material schemes
Colour a Revit 3D view by category and drop it into a chat with Higgsfield connected. Then choose a material scheme by looking at options instead of describing one. The geometry never moves.
Snowdon Towers sample model · Revit 2025 · ChatGPT with the Higgsfield plugin · nano banana pro and Seedance 2.5
Revit × Claude is out: 44 Revit skills, three free to try. See the skills →
1. Colour the view
The input is one image: a 3D view you already have, with every surface flooded in a flat colour standing for what it is. No shadows, no textures, no material names.
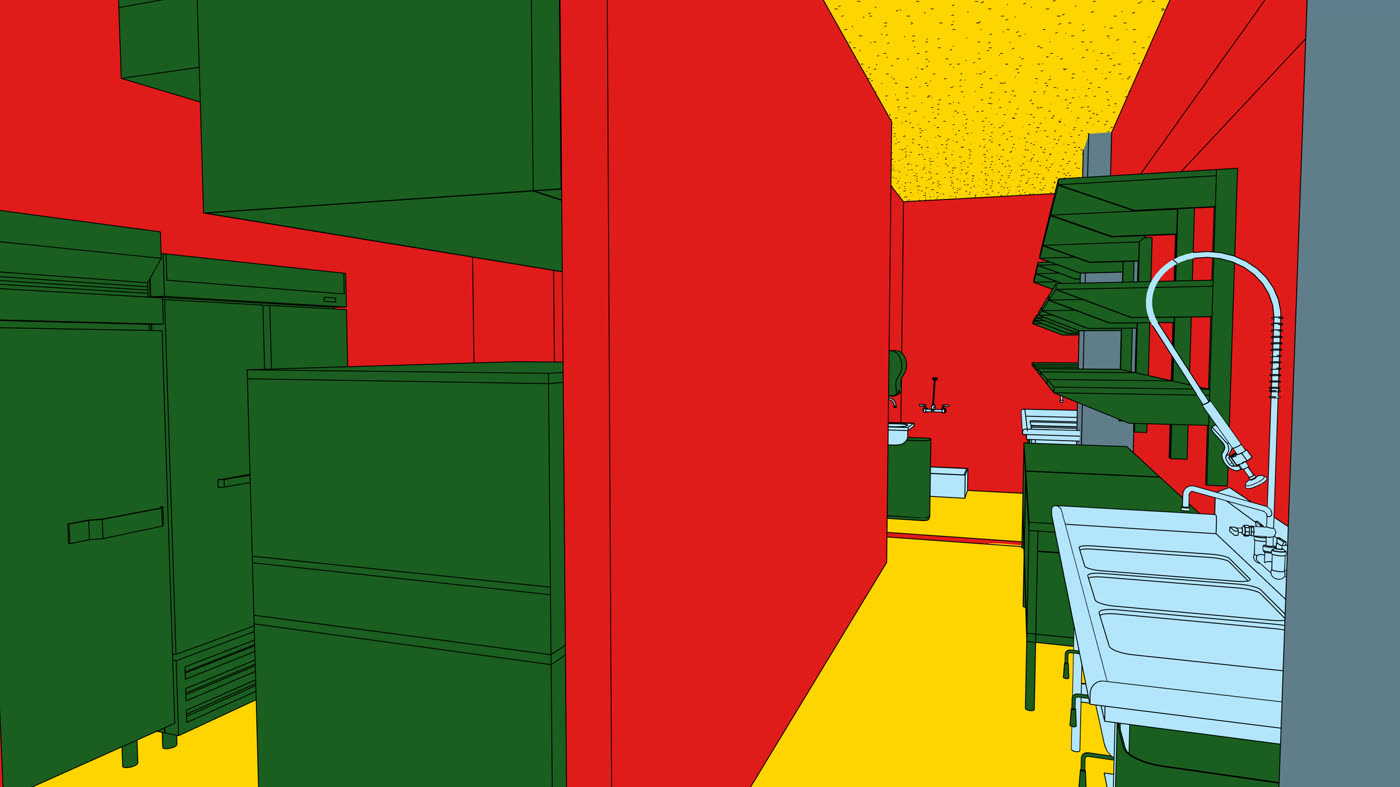
It is a Visibility/Graphics job, not a plugin. Open the 3D view, open VG, give each model category a solid projection surface pattern in its own colour, keep the outlines on, export. Save it as a view template and the next view takes one click.
▸Prefer to skip the dialog? Set up Revit MCP and ask for the viewopen
The full setup, with a video, is at archaiflow.com/setup.
This part needs a terminal and your config file, so use a coding assistant rather than a chat window. Claude Code works, and so does any agent that can run commands on your machine. Install pyRevit first, then paste this in.
Install the Revit MCP server from
https://github.com/mcp-servers-for-revit/mcp-server-for-revit-python
for use with Claude Desktop on Windows. Specifically:

1. Clone the repo into %APPDATA%\pyRevit\Extensions, renaming the
   folder to end in ".extension" (per the repo's manual
   installation instructions).
2. Install uv if it isn't already on PATH.
3. Find my claude_desktop_config.json and add a "Revit Connector"
   entry to mcpServers, pointing at the main.py inside the cloned
   repo, using uv to run it (see the repo README's "Connecting to
   Claude Desktop" section for the exact JSON shape).
4. Tell me when it's done and what I still need to do manually
   inside Revit (enabling pyRevit Routes, adding the extension as
   a Custom Extension, and restarting Claude Desktop). Those steps
   need the Revit and Claude Desktop UI, so don't try to automate
   them.
Three things are left, because they live in a UI:
- 1.Revit → pyRevit →
Settings: turn Routes on, add the cloned folder under Custom Extensions, restart Revit. - 2.Quit Claude Desktop completely and reopen it.
- 3.Open a project and visit
localhost:48884/revit_mcp/status/. It should sayhealthy.
Then ask for the view instead of clicking through it:
Take my current 3D view and make a flat colour-coded copy.

1. Duplicate the view, name it CMAP_<view name>, clear its
   view template.
2. Display style flat: no shadows, no textures.
3. Give every visible model category a solid-fill surface
   override in its own distinct colour. Keep outlines on.
4. Export a PNG, 3200px on the long side.
5. Tell me which colour you gave each category.

Do not touch the original view, and do not save the document.
Verified on Revit 2025.
2. Ask for options, not a description
In ChatGPT, connect Higgsfield once under Plugins and authorise it. From then on the same conversation can propose a direction, render the still, and drive the video model.
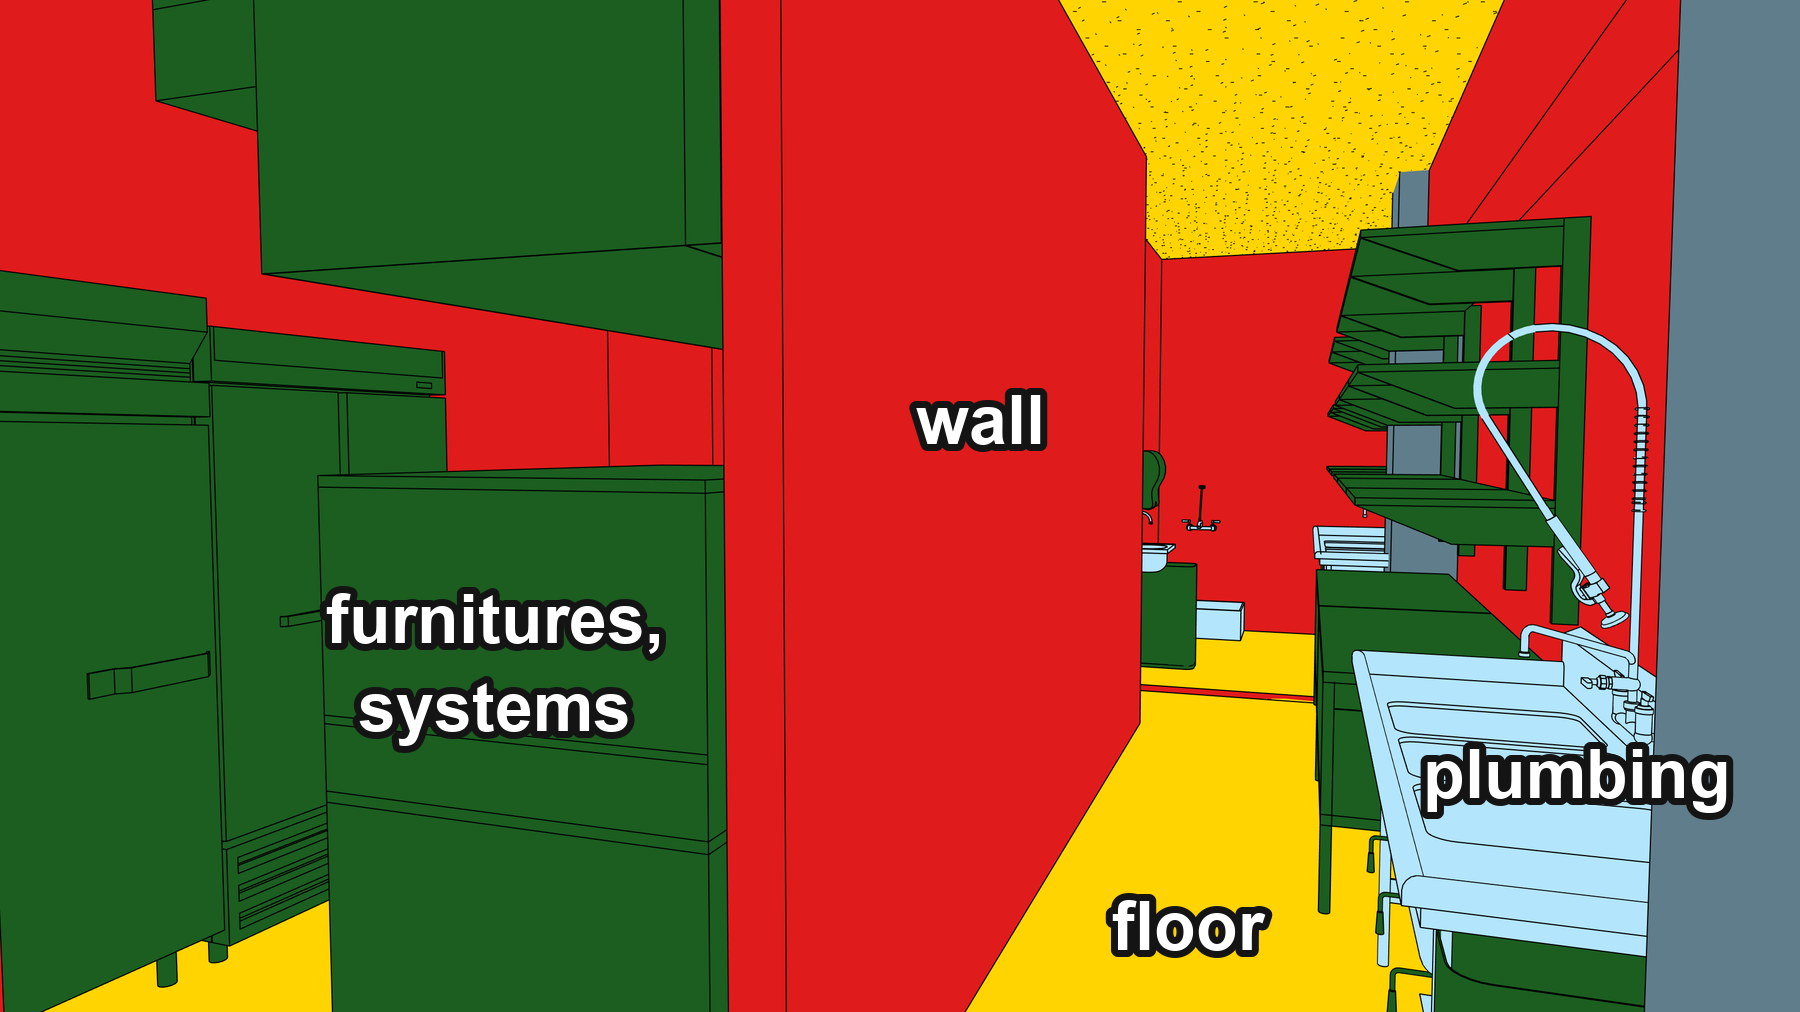
You could write the material scheme into the prompt. It works better to have the model propose several and show them. Two pictures are quicker to compare than two paragraphs. Drop the map in with this:
Analyze this architectural color map. Suggest suitable material
directions with visual references. For each material direction,
you must include image references at least 2 per option that are
displayed directly in this chat so I can compare them visually
right away, not just text descriptions or external links.

Let me choose one first. Then ask me about mood and camera
movement. Based on my answers, recommend the best Higgsfield
video model.

Preserve the original architecture, proportions, and geometry.
Displayed directly in this chat stops the answer being a mood board you have to go and find. Let me choose one first puts a human decision between the options and the render. The mood and camera question comes back as a short multiple choice. The model then names its own recommendation: Seedance 2.5 in omni-reference mode, 3 to 6 seconds, 1080p, slow stabilised forward walk.
3. What comes back
The geometry holds. Every wall, cabinet, shelf edge and opening lands where the map put it. Only the finishes move.
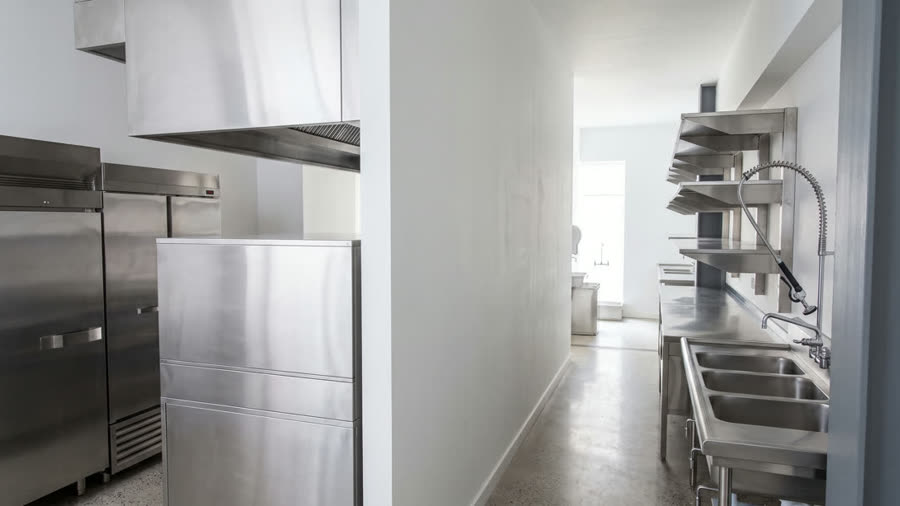
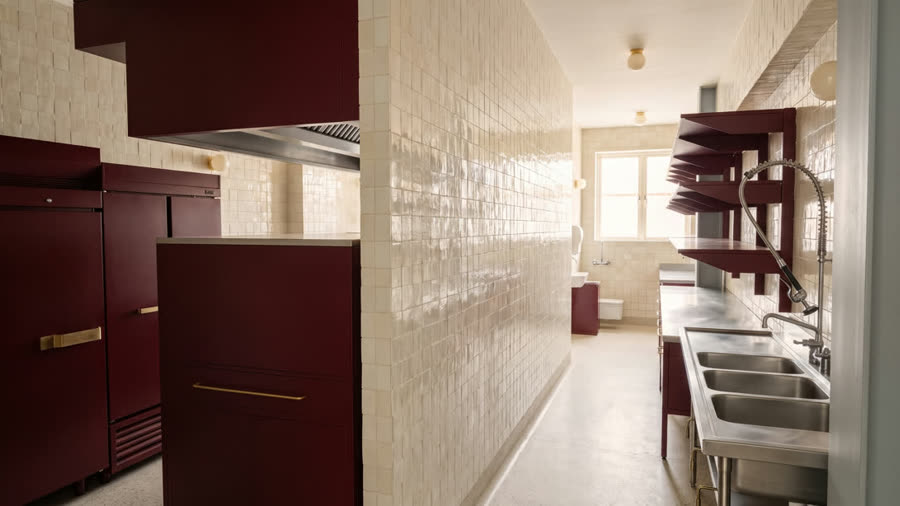
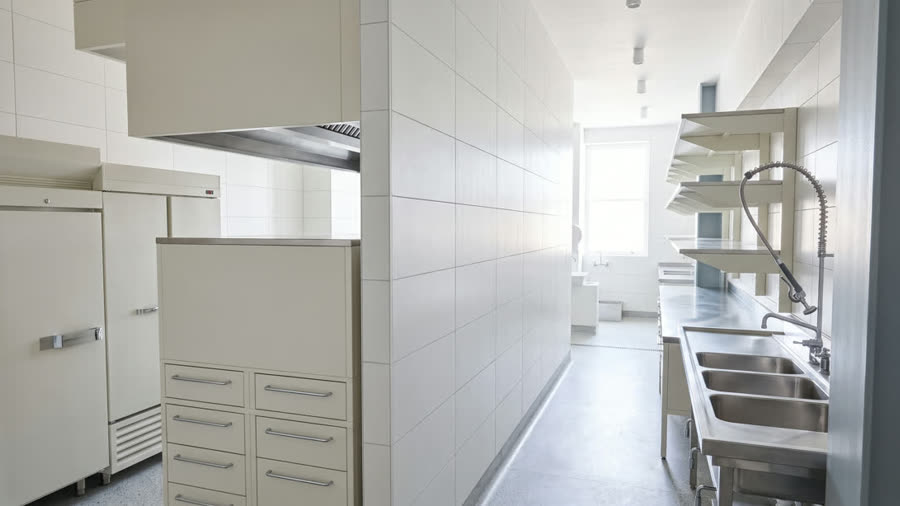
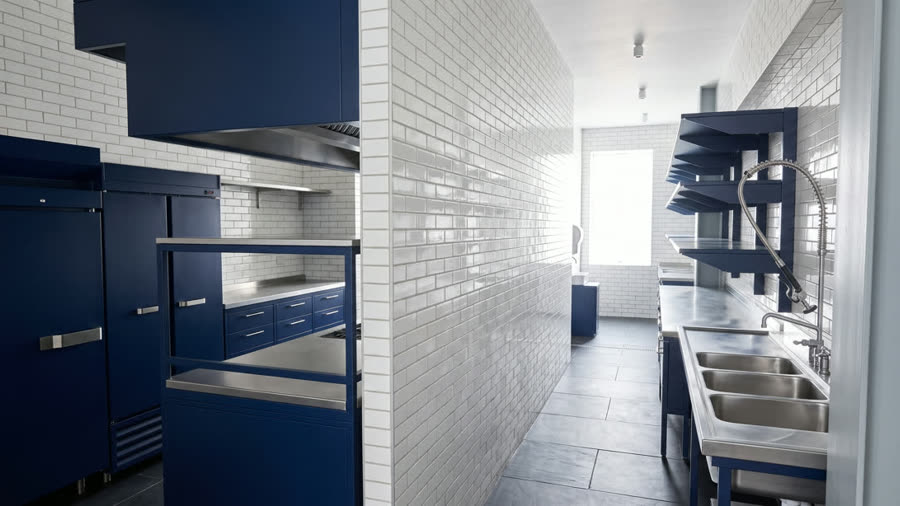
Four schemes for this kitchen took about twelve minutes and two credits each. Nothing was modelled twice and no view was re-exported. Side by side the plan is identical in all four, which is the part a client can judge from. It is most useful where a decision is still open:
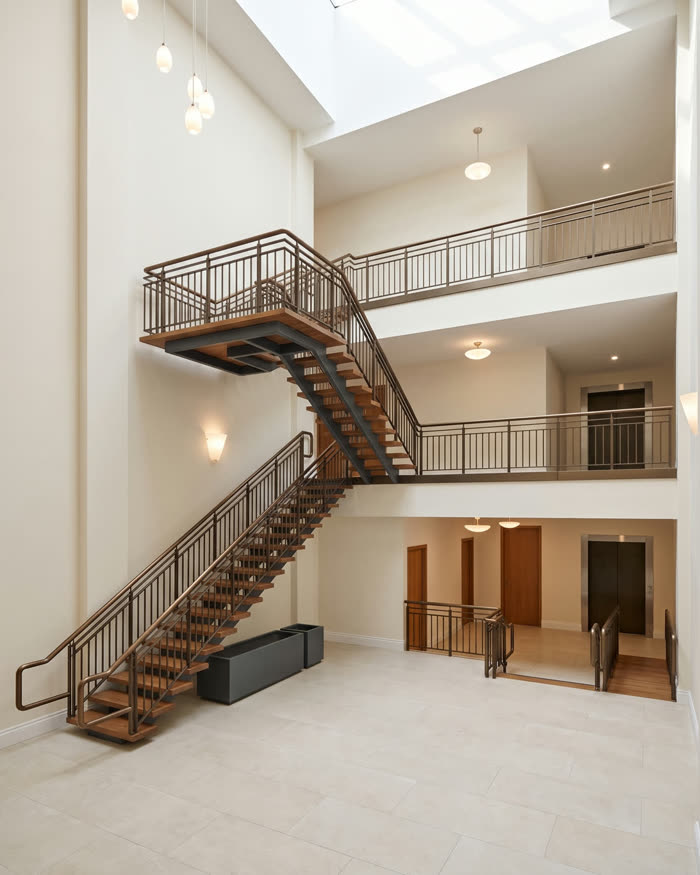
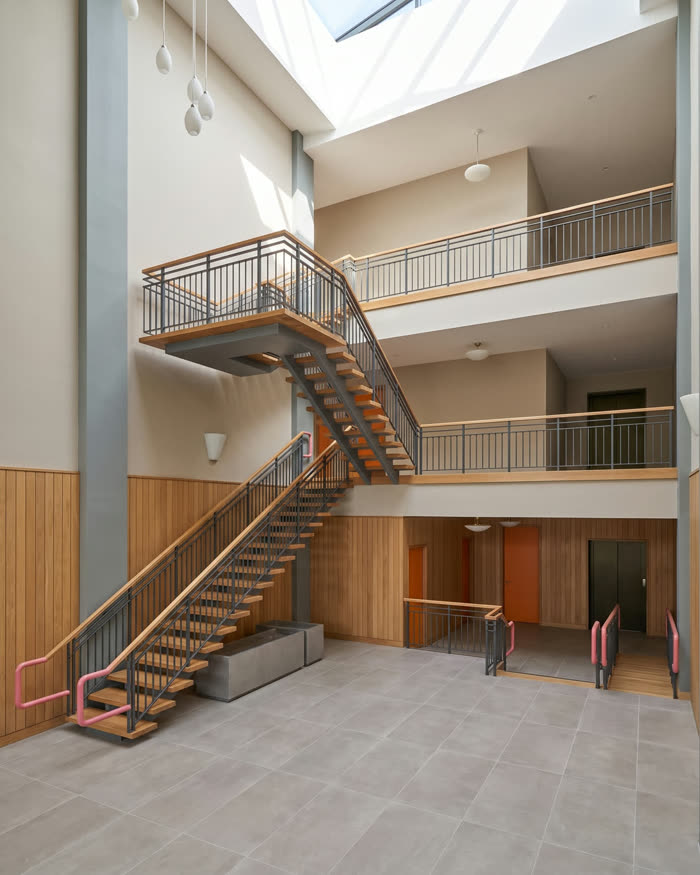
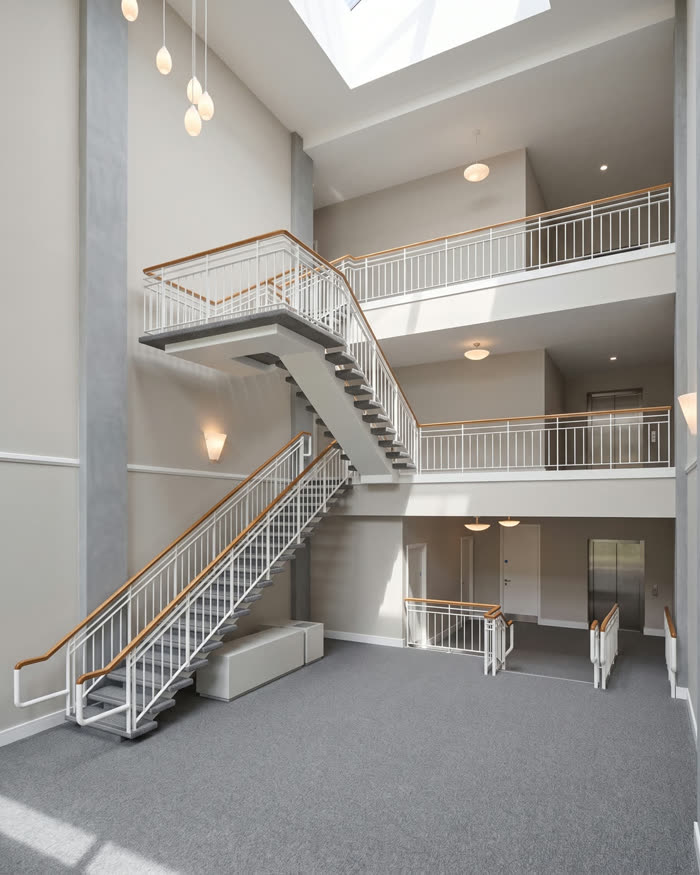
The still becomes a clip in the same chat. A five-second walk holds if the direction you are travelling still has something in it to look at. A galley with a window at the end survives, a tilt that takes the handrail out of frame does not.
4. Why a colour map and not a screenshot
You could paste the ordinary Revit view instead. A shaded screenshot already has lighting, materials and depth cues in it. The model reads all of that as suggestion, so it reinterprets and the geometry drifts. A flat colour map has nothing to argue with. It is a drawing with regions, and the model does the one job left: fill each region in.
Companion to Consistent Renders from Revit, which does the same job as a Revit add-in and scores its output against the model’s own materials.
I hope this one helped, even a little. If it did, the skills and the handbook will help a lot more: the Revit jobs that come back every day, done with Claude, in the model that is already open. Only what I have run myself and found useful on real projects goes in.
David