Revit schedules in Notion
Pick schedules from the open model with one prompt. Each one becomes a Notion database: same columns, same order, and a picture of every type.
Shown on the Revit 2025 samples · racadvanced and Snowdon Towers · Claude, with the Revit MCP server and the Notion connector
1. Connect Revit
The prompt runs through the Revit MCP server, a free add-in that lets Claude read the model you have open and make changes in it. Set it up once and it loads with Revit after that.
▸How to set up the Revit MCPopen
step 1Install pyRevit
Install the latest pyRevit from pyrevitlabs.io.
step 2Add the extension, in Revit
It is in pyRevit’s own extension list, so there is nothing to download by hand.
- 1.Revit → pyRevit tab →
Extensions. Findrevit-mcp-pythonand install it. - 2.Same tab →
Settings→ Routes: turn the Routes Server on. - 3.Restart Revit and open a project.
step 3Install the Revit MCP
Paste this prompt to install the Revit MCP.
Connect the Revit MCP server to Claude Desktop on Windows.
The pyRevit extension is already installed at
%APPDATA%\pyRevit\Extensions\revit-mcp-python.extension

1. Install uv if it isn't already on PATH.
2. Add a "Revit Connector" entry to the mcpServers block of my
   claude_desktop_config.json that runs the main.py in that
   folder with uv. The repo README's "Connecting to Claude
   Desktop" section has the exact JSON shape:
   https://github.com/revit-mcp/revit-mcp-python
3. Tell me when it's done, and remind me to quit Claude Desktop
   completely and reopen it.
Quitting Claude Desktop completely and reopening it puts Revit Connector in the connectors list under the message box.
2. Connect Notion
Notion is a published connector, so there is nothing to install. Open the + menu under the message box, go to Connectors, find Notion and sign in. Revit and Notion both need to be switched on in that menu.
3. One prompt
Start with a Claude project, so the schedules are easy to update later. Under the message box, choose Project or folder → New project and give it a name.
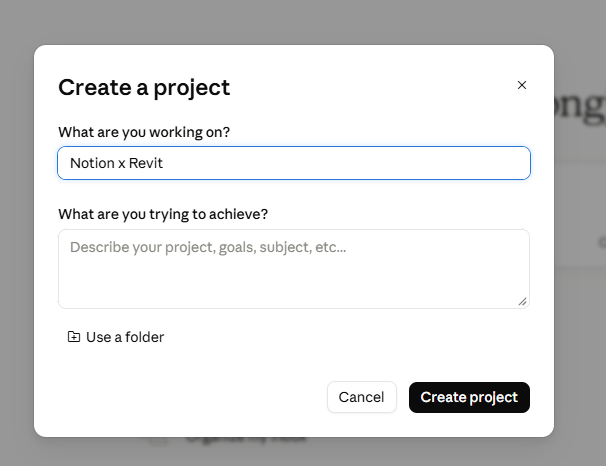
When the model changes, open a new chat in the same project and ask Claude to update the databases from Revit. The project keeps the earlier chats together, so Claude updates the databases it made instead of making new ones.
Open the model in Revit and paste this into a new chat in the project. It lists the schedules first and waits for you to pick. If you want to check the result before sending everything, ask for a few rows first.
Export Revit schedules to Notion (Revit MCP + Notion MCP).

1. List the model's schedules with row counts. Ask which ones
   to send, all rows or a few first, and which Notion page to
   put them under.
2. Read only: never save or change the model. One Revit call
   at a time.
3. One Notion database per schedule. Columns are the
   schedule's fields plus Row, ElementId, and a Picture (the
   type preview image). Keep Revit's row order.
4. Tell me which rows you couldn't send and any counts that
   don't match Revit.
Line 2 only reads: no saving, and nothing in the model changes. Sending one request to Revit at a time matters. Revit answers one at a time, so two sent together can come back mixed up.
4. What comes back
One database per schedule. The columns are the ones set up in Revit, in the same order, and a Row number keeps the rows in the order Revit shows them. Each row also carries the element’s ID, so it can be found in the model again.
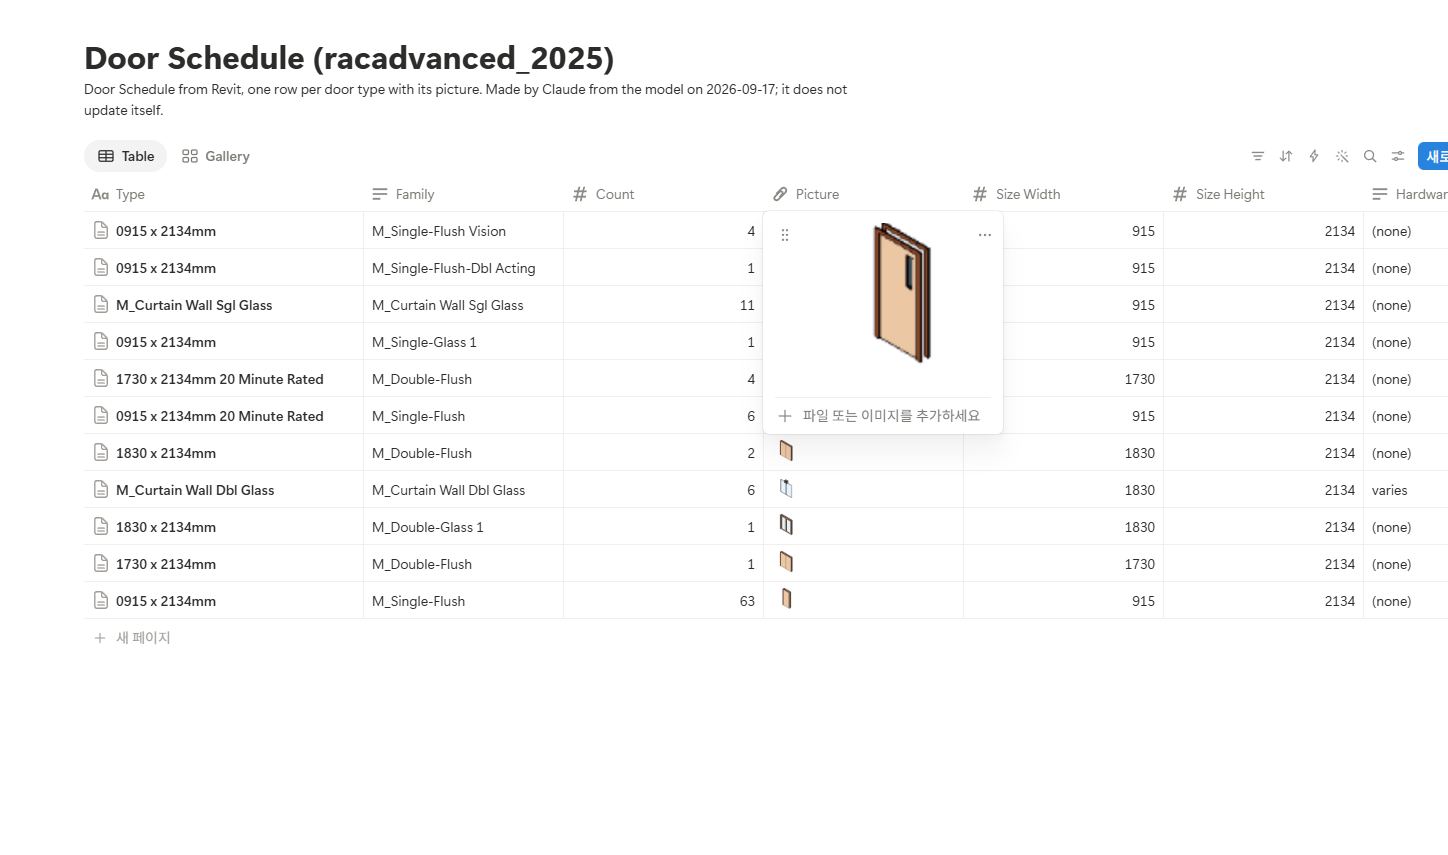
The picture is Revit’s own preview of each type, so the same database also works as a gallery.
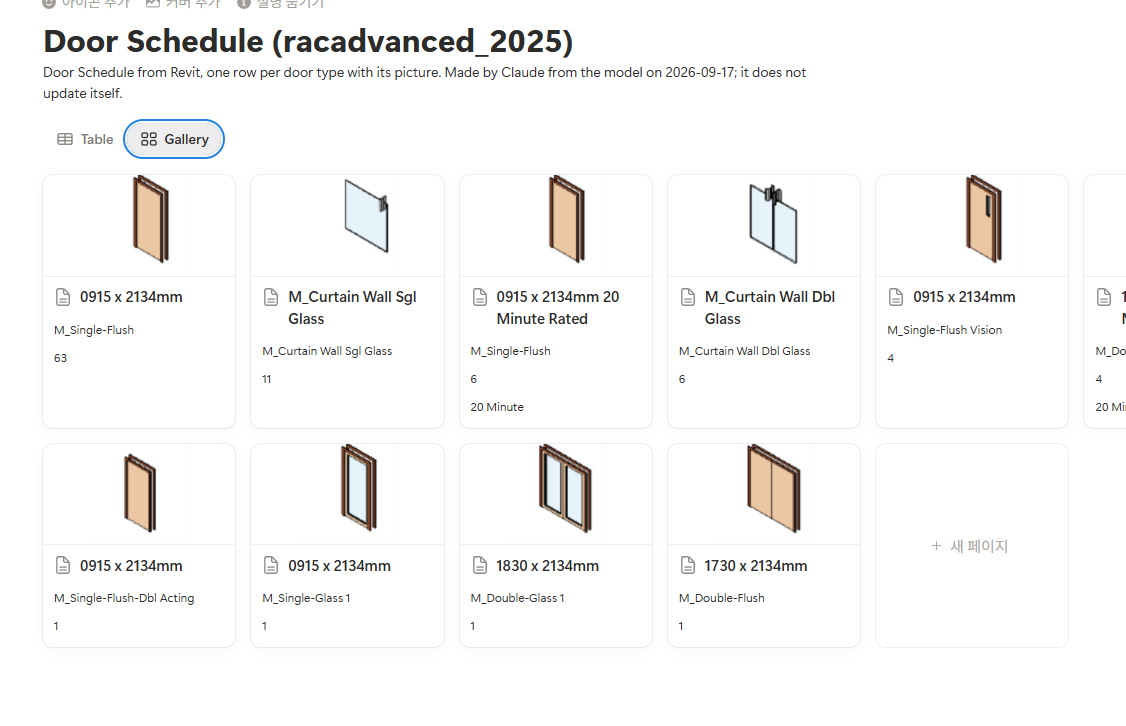
The last line of the prompt matters on real projects. A schedule can leave elements out on purpose, through its filters. On Snowdon Towers the model has 142 doors and the Door Schedule lists 132. Line 4 asks Claude to tell you about a gap like that, so the other 10 are not left out without anyone knowing.
5. Where this goes
The schedule stays where it is set up, in Revit. Notion is where the rest of the team can read it, filter it, and comment on it without opening the model.
The prompt asks for the schedule instead of naming one, so the same four lines run on any project.